 Clearwater Roofing
 New Roof Installation Built for Safety Harbor's Waterfront Conditions
Safety Harbor sits right on Old Tampa Bay, and that location shapes what a roof in this city has to deal with every year. Homes here face salt-laden air blowing in off the water, intense year-round Florida UV, wind-driven rain during summer storms, and the real possibility of hurricane-force gusts during the season. A roof installed without that combination in mind may look fine on installation day and still fail early — not because the shingles or panels were bad, but because the assembly underneath wasn't built for this specific environment.
A correctly installed new roof is a system: decking, underlayment, flashing, ventilation, fastening pattern, and the visible material on top all have to work together. When we install a new roof in Safety Harbor, every one of those layers gets chosen and installed with Pinellas County's climate and current building code in mind, not just whatever is fastest to put down.
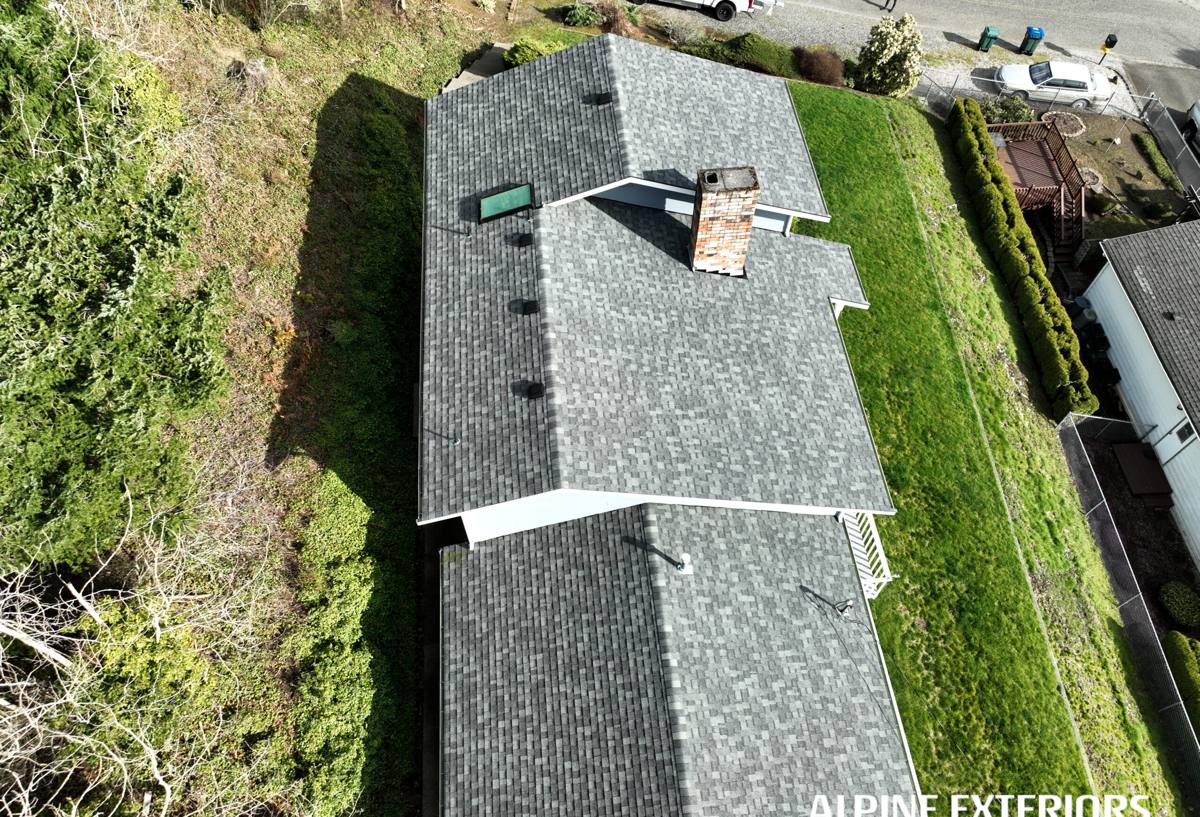
Why This Isn't Just "Any" Roofing Job
Safety Harbor has a mix of housing stock — established, tree-lined neighborhoods with older ranch-style homes alongside newer construction closer to the water and downtown. Older roofs in this city are often past their designed service life and were built to a lower wind-code standard than what's required today. Newer homes may already meet current code but can still have roofs installed with shortcuts that won't show up until the next major storm.
What makes a new roof installation genuinely correct for this area comes down to a few things:
- Deck inspection and repair before anything new goes down — not covering up soft or damaged sheathing
- Underlayment rated for wind-driven rain, not just a basic felt layer
- Flashing detail at every penetration, valley, and wall intersection, since this is where the vast majority of leaks start
- A fastening pattern that meets current Florida Building Code wind requirements for this part of Pinellas County
- Balanced attic ventilation, so heat and moisture don't shorten the life of the new roof from underneath
- Materials and installation methods that support a wind mitigation inspection for insurance purposes
Signs a Safety Harbor Home Is Ready for a New Roof
Roof replacement isn't always obvious from the ground. Some of the clearest signals we look for during an inspection include:
- Shingles that are curling, cupping, or losing granules in large patches
- Cracked, slipped, or missing tiles, or corroded fasteners on metal panels
- Soft spots in the decking when walked, especially near valleys and roof-to-wall transitions
- Daylight visible through the attic decking or staining on attic wood
- Repeated repairs to the same areas after storms
- A roof approaching or past 20-25 years old (shingle) or nearing the end of its rated service life for its material
- Difficulty getting affordable insurance coverage or a wind mitigation credit on the current roof
If a roof is showing more than one of these, replacement is usually more cost-effective long term than continuing to patch it, especially heading into another hurricane season on the water.
What Salt Air and Bay Exposure Do Over Time
Homes closer to Old Tampa Bay see faster corrosion on exposed metal — fasteners, flashing, vent boots, and metal roofing panels themselves. It's one reason we pay close attention to fastener material and flashing metal type on installations near the water, not just on homes further inland in the county.
What a Correct New Roof Installation Involves
A new roof installation is more than stripping the old material and laying new shingles or panels. Done right, it follows a sequence:
- Tear-off of the existing roofing material down to the deck (not installed over old layers)
- Deck inspection — any rotted, delaminated, or water-damaged plywood or OSB is replaced, not skipped
- Drip edge and underlayment installation rated for the wind and rain exposure this area sees
- Flashing at chimneys, skylights, walls, and valleys, formed and sealed correctly rather than just caulked over old flashing
- Field installation of the chosen material, following manufacturer specs and the fastening pattern required by current code
- Ventilation check — intake and exhaust venting balanced for the attic space
- Final inspection and cleanup, including a magnetic sweep for stray nails
Skipping or rushing any one of these steps is usually where premature failures come from — not the shingle or panel brand itself.
Roofing Material Options for Safety Harbor Homes
There isn't one "best" roofing material for every home in this city — it depends on the home's structure, budget, HOA or neighborhood expectations, and how long the homeowner plans to stay in the house. Here's an honest comparison of the main options we install:
| Material | Typical Lifespan | Wind/Storm Performance | Maintenance |
|---|---|---|---|
| Architectural asphalt shingle | 20-30 years | Good when rated and installed to current wind code | Low; periodic inspection after storms |
| Standing seam metal | 40-50+ years | Excellent wind uplift resistance; concealed fasteners hold up well near the bay | Low; occasional fastener/sealant check on trim |
| Concrete or clay tile | 40-50+ years | Very good when properly fastened; individual tiles can crack from impact | Moderate; cracked tile replacement, underlayment is the real lifespan factor |
We're upfront about trade-offs. Tile roofs, for example, often last as long as the structure itself, but the underlayment beneath the tile usually needs replacing well before the tile does — and that's a labor-intensive job. Metal has excellent wind performance but a higher upfront cost. Architectural shingle remains the most common choice in this area because it balances cost, appearance, and performance well when installed correctly.
Our New Roof Installation Process
Every Safety Harbor project follows the same basic path, adjusted for the home:
- On-site inspection and estimate — we walk the roof, check the attic, and measure, rather than quoting from a satellite photo
- Material and scope discussion — honest recommendations based on the home's age, structure, and your budget
- Permitting — pulled through the appropriate local building authority before work starts
- Scheduling around weather — we plan installs to avoid leaving a home exposed during an active storm system
- Installation — tear-off through final material, following the sequence above
- Final walkthrough and documentation — including paperwork you'll want for insurance and wind mitigation purposes
Permits, Code, and Insurance in Pinellas County
New roof installations in Safety Harbor require a permit and inspection through the applicable local building department, and the work has to meet Florida Building Code's High-Velocity Hurricane Zone-adjacent wind provisions that apply across this part of Pinellas County. This isn't optional paperwork — it protects you if there's ever a claim dispute after a storm, and it's what allows a wind mitigation inspection to actually reflect what's on your roof.
A properly documented new roof, with the right fastening, secondary water barrier, and roof-to-wall connections, can also lower your windstorm insurance premium through Florida's wind mitigation credit system. We provide the documentation homeowners need to pursue that with their insurer.
Cost Factors for a New Roof
Every roof is different, so we don't quote sight-unseen numbers, but the main factors that move the price are consistent:
| Factor | Why It Matters |
|---|---|
| Roof size and pitch | More surface area and steeper pitches mean more material and labor time |
| Material choice | Shingle, metal, and tile have very different material and installation costs |
| Deck condition | Rotted or damaged decking found during tear-off adds material and labor |
| Roof complexity | Valleys, dormers, chimneys, and skylights all add flashing and labor time |
| Layers to remove | Multiple existing layers take longer to strip than a single layer |
Most full replacements on homes in this size range in Safety Harbor land somewhere between roughly $12,000 and $30,000 or more, depending heavily on the factors above. We give an exact number only after we've actually inspected the roof — anything else is a guess.
Why a Local Crew Matters for This Job
A roof installed correctly on paper still has to survive real Safety Harbor conditions: shifting bay winds, salt exposure, and summer storm cells that can be very different from what's happening a few miles inland. A crew that already works this city knows which flashing details tend to fail first on homes near the water, what local permitting actually requires, and how to schedule around this area's weather patterns instead of learning it on your roof.
Local presence also matters after the sale — if a question comes up during a wind mitigation inspection, or a storm rolls through six months after installation, you're calling a crew that's still working in your neighborhood, not chasing down a contractor from out of the area.
What to Ask Before You Hire
Before signing a contract for a new roof, it's worth confirming a few basics with any contractor:
- Are you licensed to perform roofing work in Florida, and can you provide proof?
- Do you carry general liability and workers' compensation insurance?
- Will you pull the permit yourself, or is that left to the homeowner?
- What underlayment and fastening pattern will be used, specifically?
- Who inspects the deck during tear-off, and how are repairs handled and priced?
- What documentation will I receive for insurance and wind mitigation purposes?
- What's the manufacturer's warranty, and is your installation certification current with them?
A contractor who answers these clearly, without hesitation, is generally one worth trusting with the job.
If your Safety Harbor home needs a new roof, we're happy to take a look and give you a straightforward, no-pressure estimate — no hard sell, just an honest read on your roof's condition and what it would take to do the job right. Use the form below to get started.