 Clearwater Roofing
 New-Construction vs. Replacement Windows: Which Does Your Seminole Project Need?
"New-construction window" is a specific term in the trade, and it's worth understanding before you start pricing a project. A new-construction window has a nailing fin (also called a flange) built into the frame. That fin gets fastened directly to the wall's structural sheathing and integrated into the weather-resistive barrier before the exterior finish — stucco, siding, or brick — goes back over it. Because the fin has to be exposed to fasten it down, this style of window is installed either during new construction or during a full-frame replacement where the old window, and often some of the surrounding wall material, comes out down to the studs.
That's different from an insert (or "retrofit") replacement window, which is built to slide into an existing, structurally sound frame without disturbing the exterior finish. Most simple window swaps on an otherwise healthy stucco opening are insert jobs — faster, less invasive, and usually the right call. New-construction windows come into play for Seminole homeowners on new home builds, room additions, converting a lanai or porch into conditioned living space, garage window openings being resized, or any situation where the original frame, sill, or sheathing has water damage or rot that has to be cut out regardless of what window goes back in.
We'll tell you honestly which category your project falls into. Tearing a sound opening down to the studs when an insert window would have done the job just adds cost and exterior finish repair (stucco patching, siding cuts) without a real benefit.
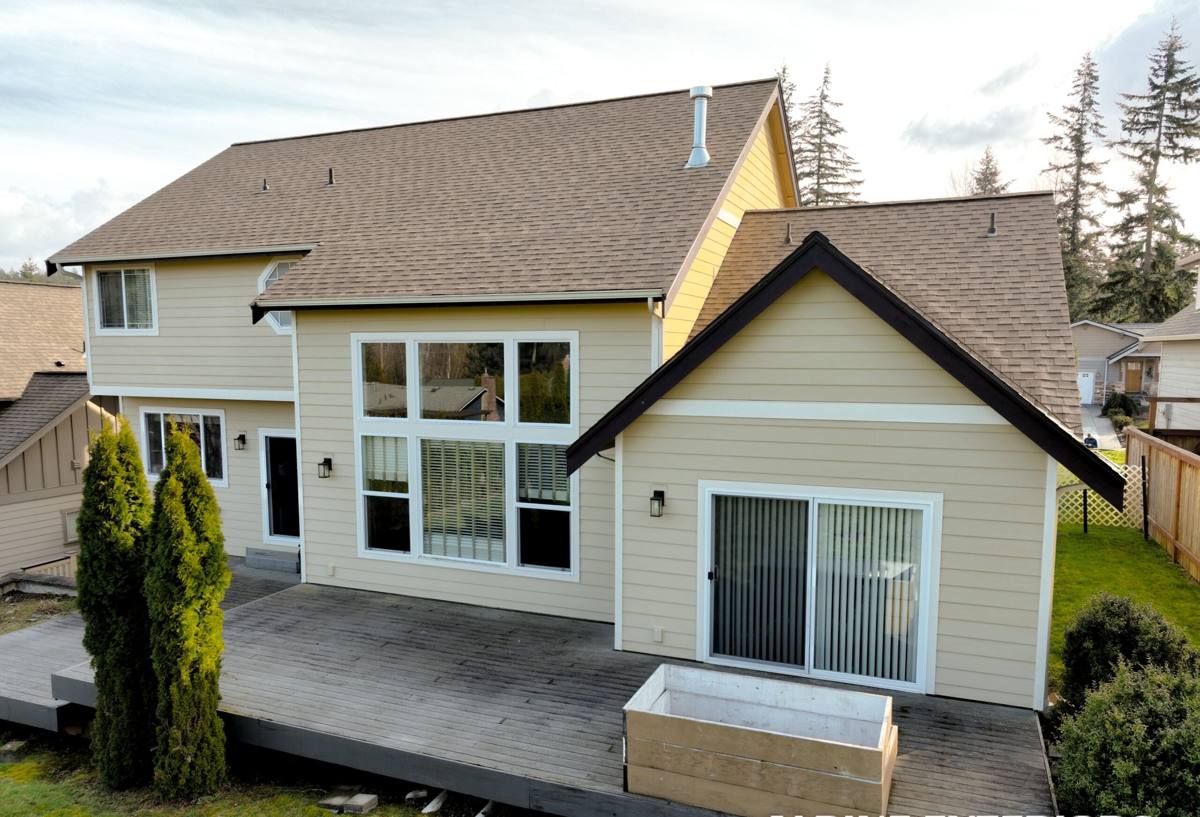
Why Seminole's Climate Raises the Stakes on This Kind of Install
Seminole sits in Pinellas County, close enough to the Gulf and the Intracoastal that homes here deal with the same coastal exposure as the barrier islands, just without the direct beachfront. That means hurricane-force wind gusts during storm season, wind-driven rain that gets pushed sideways into any gap in the wall assembly, intense year-round UV that breaks down sealants and frame materials over time, and salt-laden air that accelerates corrosion on fasteners and hardware faster than it would inland.
None of that is unique to new-construction windows specifically, but this type of install carries more consequence when something is done wrong. With an insert replacement, a flashing mistake often shows up eventually as a drafty or leaky window — annoying, but visible and fixable. With a new-construction window, the fin and flashing get buried behind stucco or siding once the job is done. If the water management at that layer isn't right, the first sign of trouble is often water damage or rot inside the wall cavity, discovered months or years later when it's already spread. Getting the flashing and fastening right the first time matters more here than on almost any other exterior job.
Flashing
The sill of the rough opening should be flashed with a sloped pan — not just a strip of tape across a flat sill — so any water that gets past the glass or frame drains back out instead of sitting against the wood. The sides and head get integrated with the wall's weather-resistive barrier in the correct shingle-lap order so water sheds down and over each layer, never up and under it.
Fastening
The nailing fin isn't fastened "by feel." Every window carries a Florida Product Approval (or, for some products, a Miami-Dade Notice of Acceptance) that specifies fastener type, size, and spacing for the wind loads it's rated to handle. Skipping or spacing out fasteners to save time undermines the wind rating the window was tested and approved for, even if it looks fine from the outside.
Sealing
Sealant goes at the fin-to-sheathing joint and around the interior perimeter, with backer rod used where the gap is too wide for sealant alone. Sealant is a backup to the flashing, not a substitute for it — a window sealed well but flashed poorly will still leak eventually as sealant ages and UV exposure takes its toll.
Florida Building Code and Wind Load Requirements in Pinellas County
Pinellas County falls within Florida's windborne debris region under the Florida Building Code. Depending on your home's wind design pressure — which varies by elevation, wall zone (corners and edges see higher pressure than the middle of a wall), and how exposed the site is — new-construction openings typically need to use impact-rated glazing or be paired with code-compliant protection. This isn't a suggestion; it's checked during permitting and inspection.
A permit gets pulled with the county or city before work starts, and the product approval documentation for the specific windows going in has to match what's submitted. Depending on the scope, inspectors may check the rough opening and flashing before the exterior finish goes back on, then do a final inspection once trim-out is complete. Skipping this process, or using windows without the paperwork to back up their rating, can hold up a certificate of occupancy on new construction or cause problems later when you sell the home and a buyer's inspector asks for permit history.
Frame Material and Glass: What Actually Holds Up Here
Frame material choice matters more in a salt-air, high-UV climate than it does inland. Here's how the common options compare for a Seminole install:
| Frame Material | Salt-Air / Corrosion Resistance | Best Suited For | Maintenance | Relative Cost |
|---|---|---|---|---|
| Vinyl | Strong — won't corrode, though color can fade with years of UV exposure | Most residential new-construction and additions | Low — occasional cleaning, no repainting | $ |
| Aluminum | Good if properly coated; bare or poorly finished aluminum corrodes faster near the coast | Larger openings, sliders, homes wanting narrower sightlines | Moderate — coating should be inspected periodically | $$ |
| Fiberglass / composite | Very strong — dimensionally stable, resists both corrosion and UV degradation | Homeowners prioritizing longevity over upfront cost | Low | $$$ |
On glass, most new-construction projects here go with laminated impact glass, which meets wind-borne debris protection requirements without needing separate shutters or panels. Impact glass costs more upfront than standard glass paired with shutters, but it's permanent protection that doesn't require anyone to put anything up before a storm — a real advantage for anyone who isn't home when a storm approaches on short notice. We'll walk through both paths honestly, including the maintenance and long-term cost trade-offs, rather than pushing one option.
Our Installation Process
- On-site measurement and assessment of the rough opening, including sheathing condition and any existing water damage
- Product selection matched to your home's wind design pressure and wall zone, not just a generic "hurricane window"
- Permit application and submission of product approval documentation to the county or city
- Rough opening prep — removing damaged material, confirming the opening is plumb, level, and square
- Sill pan flashing installed and integrated with the wall's weather-resistive barrier
- Window set and fastened per the manufacturer's approved fastening schedule
- Sealant applied, inspection scheduled, and interior/exterior trim-out coordinated with your stucco or siding trade
Why Hiring a Crew That Already Works in Seminole Matters
New-construction window work leans heavily on getting the permitting and inspection process right the first time, and that process runs through Pinellas County and local municipal offices with their own paperwork habits and inspector expectations. A crew that already does this work in and around Seminole and Clearwater isn't learning that process on your project — they already know what documentation gets asked for and what gets flagged at inspection.
Local experience also means familiarity with the housing stock in this part of Pinellas County — a mix of older concrete block homes with stucco exteriors and newer frame construction, each with different rough-opening quirks and different histories of past repairs. And when a storm is bearing down and you need protection installed or checked on short notice, a crew based nearby can actually get to you, rather than being three counties away.
Signs Your Project Calls for New-Construction Windows, Not a Simple Swap
- You're building an addition, converting a porch or lanai, or resizing an existing opening
- The rough opening or surrounding sheathing has visible water damage, soft wood, or rot
- Your current windows were installed without the flashing or fastening a code-compliant install requires
- You're changing window size, shape, or location, not just replacing what's already there
- A past leak has already gotten into the wall cavity and needs to be opened up to fix properly
After the Install: What to Expect
Once the job passes final inspection, you'll have documentation of the permit, the product approval for the windows installed, and manufacturer warranty information — keep these; they matter if you sell the home. Given the UV and salt exposure typical here, it's worth having exterior sealant joints checked every few years as part of general home upkeep, since sealant is the layer that ages fastest, well before the window or the flashing behind it. Catching a failed sealant joint early is a small fix; catching it late can mean opening the wall back up.
If you're planning an addition, replacing storm-damaged openings, or dealing with a wall that's already showing signs of past water intrusion, we're happy to take a look and walk you through what your project actually needs. Reach out for a free, no-pressure estimate — use the form below to get started.