 Clearwater Roofing
 Safety Harbor's Siding Takes a Different Kind of Beating
Safety Harbor sits along Old Tampa Bay, and that waterfront position is part of what makes it such a desirable place to live — and part of what makes siding replacement here a job that has to be done right the first time. Homes in this pocket of Pinellas County deal with the same year-round UV load as the rest of Clearwater, but the bay adds a steady dose of salt-laden air and humidity that accelerates corrosion on fasteners, trim, and anything with a weak factory finish. Add in wind-driven rain during summer storms and the occasional direct hit from a tropical system, and you have a climate that finds every weak point in a siding job within a few years, not a few decades.
We work Safety Harbor regularly as part of our Clearwater service area, and the pattern repeats itself: siding that looked fine from the curb but was failing underneath from moisture intrusion, poor flashing, or a product that was never engineered for this environment in the first place.
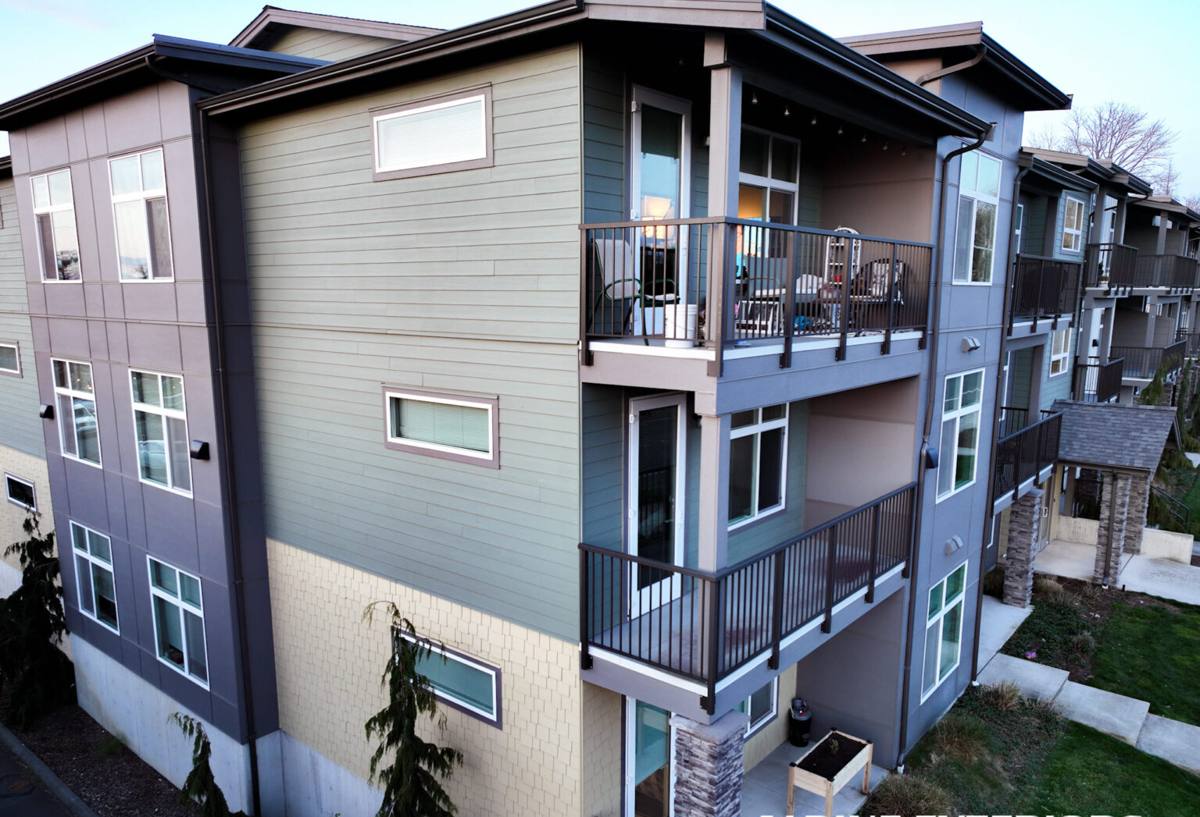
What We Actually Find on Older Siding in This Area
When we inspect a Safety Harbor home for a siding replacement, we're not just looking at paint condition. We're checking for the underlying damage that homeowners usually can't see from the ground.
Common failure points
- Swelling, delamination, or soft spots at the bottom courses and around window trim on older wood or hardboard siding
- Rusted or bleeding fasteners where salt air has attacked exposed nail heads
- Buckled or warped panels from repeated heat-cycling in direct afternoon sun
- Gaps at butt joints and corners where wind-driven rain has been pushed behind the siding for years
- Faded, chalky, or peeling paint on anything that relies on a field-applied finish rather than a factory-cured one
- Soft rim joists or sheathing discovered only after siding is removed
That last point matters most. On a lot of the older homes we open up in this area, the siding was the visible symptom — the real problem was months or years of moisture getting behind it undetected. A proper replacement has to address both.
What a Correct Siding Replacement Actually Involves
Siding replacement is not simply pulling off old material and nailing up new panels. Done correctly, it's a systems job — the siding is one layer of a larger moisture-management assembly.
The tear-off and inspection
Full removal of old siding and trim, followed by an inspection of the sheathing underneath. Any rot, soft wood, or compromised sheathing gets repaired or replaced before anything new goes up. Skipping this step is the single most common shortcut in the industry, and it's the one that causes the most expensive failures later.
The water-resistive barrier
A new, properly lapped weather-resistant barrier goes over the sheathing. In this climate, correct lapping and sealing at seams, penetrations, and transitions is not optional — it's the difference between a house that sheds wind-driven rain and one that traps it.
Flashing at every penetration
Windows, doors, hose bibs, vents, and any other penetration need proper flashing integrated with the water-resistive barrier, not just caulked over. Caulk fails; correctly lapped flashing doesn't rely on a sealant to do the whole job.
Fastening and installation to manufacturer spec
James Hardie siding has specific fastener type, spacing, and clearance requirements — including gaps at the ground, roofline, and adjoining surfaces to keep the product out of standing water and allow it to perform as engineered. Installing it like a generic lap siding voids the benefit of using it at all.
Trim, caulking, and paint touch-up
Factory-primed or ColorPlus-finished trim, sealed with a quality exterior sealant at the joints, with any field-cut edges primed before installation.
Why We Only Install James Hardie Fiber Cement
We don't install vinyl siding, LP SmartSide, Cemplank, Allura, or primed wood products like spruce or cedar. That's a deliberate standard, not a limitation in what we're capable of installing.
Vinyl softens, fades, and can deform in the kind of sustained heat and direct sun exposure common on Florida's Gulf Coast, and it offers little in the way of impact resistance during storm season. Wood-based products — including engineered wood siding — depend on an intact factory coating and diligent field sealing to keep moisture out; once that coating is compromised, they're vulnerable to the swelling and rot we see constantly on older homes here. Cedar and primed spruce require ongoing maintenance and repainting to hold up in humid, salt-air conditions, which is a real ongoing cost most homeowners don't want to sign up for.
James Hardie fiber cement is non-combustible, holds its factory-applied ColorPlus finish far longer than field-applied paint, and its HZ product lines are engineered specifically for high-humidity, high-moisture climates like ours. It doesn't attract termites, doesn't swell from moisture the way wood-based products can, and carries a strong transferable warranty when installed to spec. That combination — durability, low maintenance, and a warranty that actually holds up in this environment — is why it's the only product we put on homes.
Quick comparison: what we're weighing against Hardie
| Material | Sun/heat performance | Moisture behavior | Maintenance |
|---|---|---|---|
| James Hardie fiber cement | Stable, won't warp or soften | Non-combustible, moisture-resistant when installed to spec | Low — factory finish holds color |
| Vinyl siding | Can soften, warp, fade in direct sun | Can trap moisture behind panels | Low, but limited repair options if damaged |
| LP SmartSide / engineered wood | Sensitive to sustained heat cycling | Depends on intact coating; vulnerable once breached | Moderate — coating maintenance matters |
| Cedar / primed spruce | Prone to expansion and contraction | Absorbs moisture, prone to rot without upkeep | High — repainting and sealing on a cycle |
Our Process, Start to Finish
- On-site inspection — we walk the exterior, check for hidden moisture damage, and measure for an accurate quote
- Written estimate — a clear scope of work, product selection, and price, with no pressure to decide on the spot
- Scheduling — we plan around weather windows, since tear-off exposes sheathing and we don't leave a house open to the elements
- Tear-off and sheathing repair — old material removed, damage repaired before anything new is installed
- Barrier, flashing, and Hardie installation — installed to manufacturer specification for fastening, clearances, and joint treatment
- Final walkthrough — we go over the finished work with the homeowner before calling the job complete
What Drives the Cost of a Siding Replacement
Every home is different, but the same handful of factors determine where a project lands.
| Factor | Why it matters |
|---|---|
| Home size and wall complexity | More corners, gables, and dormers mean more cutting, trim work, and labor time |
| Condition of existing sheathing | Hidden rot or moisture damage found during tear-off adds repair scope |
| Siding profile and accessories | Lap width, trim details, and any batten or shake accents affect material cost |
| Color and finish | Factory ColorPlus finishes cost more upfront than field-painted trim but last longer |
| Access and site conditions | Tight lots, landscaping, or multi-story sections can add labor time |
We give an honest, itemized estimate before any work begins so there are no surprises once tear-off starts — including what happens if we find sheathing damage that wasn't visible during the initial inspection.
Signs It's Time to Replace, Not Patch
- Soft or spongy spots when you press on the siding, especially near the bottom edges
- Visible warping, buckling, or gaps that weren't there a year or two ago
- Paint that's peeling or chalking faster than it used to, even after repainting
- Rust streaks running down from fastener heads or trim seams
- Interior signs like peeling paint, musty smells, or soft drywall on exterior walls
- Multiple past patch repairs in the same area — a sign of a recurring moisture path, not a one-time problem
Why a Crew That Already Works Safety Harbor Matters
Siding replacement isn't just a product decision — it's a construction decision that has to account for local wind exposure, humidity, and the way Gulf Coast storms load up on wind-driven rain. A crew that regularly works Clearwater and the Safety Harbor area already knows how to detail flashing and fastening for this specific climate, rather than applying a generic install method that happens to be correct somewhere drier or colder. That local familiarity shows up in the details that matter most five and ten years down the road — the flashing behind a window, the gap at the bottom course, the fastener spacing on a wall that takes full afternoon sun.
It also means a shorter response time if something needs a follow-up look, and a crew that isn't learning Pinellas County's building requirements and climate demands on your project.
If your Safety Harbor home's siding is showing its age — or you just want an honest assessment of what shape it's really in — we're happy to take a look. Use the form below to request a free, no-pressure estimate.