 Clearwater Roofing
 New-Construction Windows in Countryside, Clearwater
Countryside is one of the older, more established residential pockets on Clearwater's north side, and it's got a mix of housing stock to match — mid-century ranch homes, additions built in the 80s and 90s, and newer infill construction going up on lots where older homes came down. New-construction window installation comes into play any time you're framing new rough openings: a full addition, a torn-down-and-rebuilt structure, a garage conversion, a lanai enclosed into conditioned living space, or a whole-home rebuild after storm damage. It's a different job than a retrofit or "pocket" replacement, and treating it like one is where a lot of window problems start.
In a retrofit, the existing frame and flashing stay in place and the new window gets set inside them. In new construction, you're starting from bare framing — which means the window nailing fin, the flashing sequence, and the water management path all get built from scratch. Done right, that's actually an advantage: you get to build the water-tightness in correctly the first time instead of working around whatever was there before. Done wrong, it's the single biggest source of long-term leaks in a home.
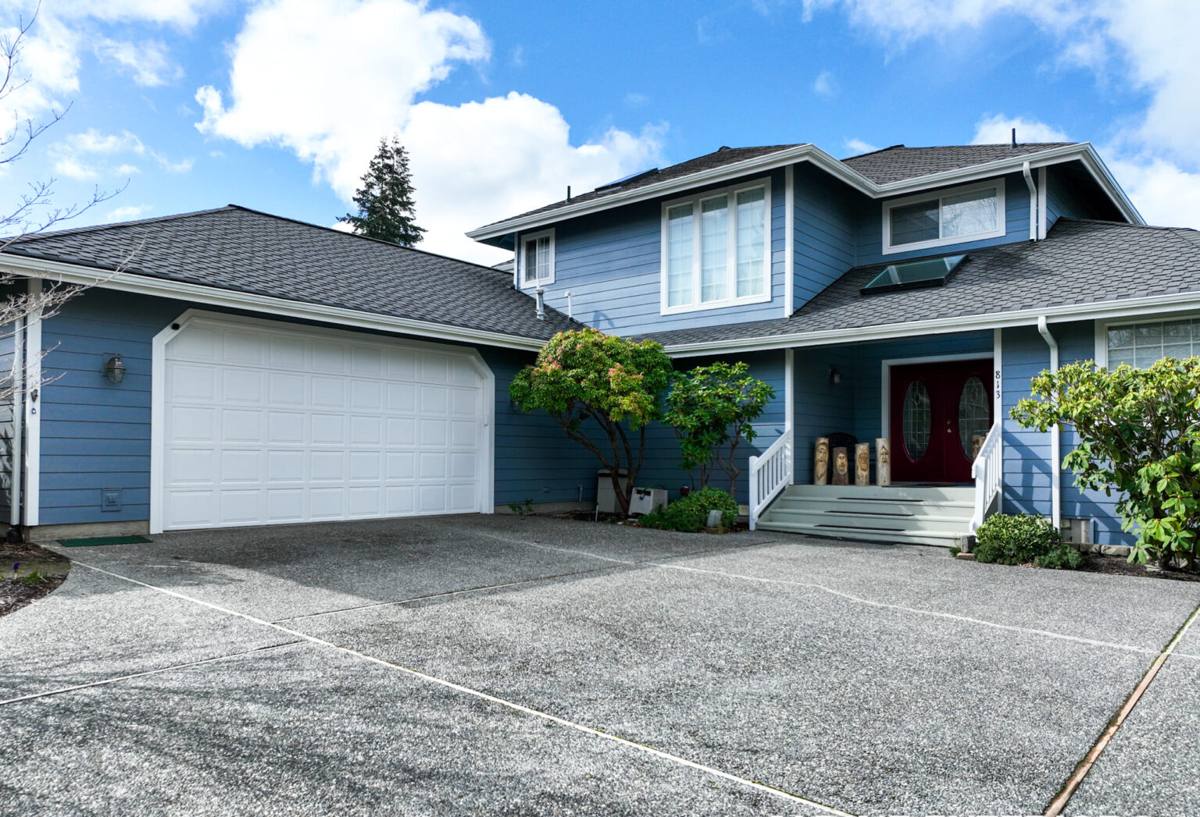
Why Countryside Homes Need Windows Built for This Climate
Clearwater sits in Pinellas County, on a peninsula that takes weather from both the Gulf and the bay side, and Countryside homes feel all of it even though the neighborhood isn't beachfront. A correctly installed new-construction window here has to hold up against four things at once:
- Hurricane-force wind and pressure cycling — not just the day of a storm, but repeated pressure swings over years that work on fasteners, sealant joints, and frame corners.
- Wind-driven rain — Florida storms rarely come straight down; they come sideways, which means flashing and sill pan design matter more here than in most of the country.
- Intense, near year-round UV — this breaks down cheap vinyl, degrades sealants, and fades interior finishes faster than homeowners expect.
- Salt-bearing air — Countryside isn't waterfront, but Clearwater's salt air still reaches inland neighborhoods and slowly attacks unprotected fasteners, hardware, and untreated framing.
None of that is exotic — it's just the baseline for anyone building or rebuilding in this part of Pinellas County. The window itself matters, but so does everything around it: the flashing, the sealant, the fastener spec, and the buck or frame prep underneath.
Florida Product Approval Isn't Optional Here
Every window installed in new construction in this area needs a valid Florida Product Approval (FL#) or Miami-Dade NOA rating appropriate for the home's wind zone, along with a design pressure (DP) rating that matches the specific opening — corner windows and larger openings often need a higher DP rating than a small bathroom window on the same wall. Pulling the permit and getting it inspected isn't paperwork for its own sake; it's the record that the window and its installation were actually engineered for the wind loads this area sees.
What a Correct New-Construction Window Install Involves
New-construction installation is a sequence, and skipping steps or doing them out of order is how leaks and failures happen years down the road, often well outside any warranty window.
The Water Management Sequence
- Rough opening checked for square, level, and correct size before anything else happens.
- Sill pan flashing installed to shed any water that gets past the window back outside the wall, not into the framing.
- Window set, shimmed, and fastened per the manufacturer's approved schedule — fastener type, spacing, and location aren't optional details, they're part of what the DP rating is based on.
- Flashing tape or housewrap integration at the sides and head, lapped correctly so water always sheds downward and outward.
- Backer rod and sealant at the interior and exterior joints, sized and installed to actually move with the building instead of cracking.
- Interior and exterior trim work that doesn't trap moisture against the frame.
Every one of those steps has to happen in order. A beautiful-looking window with a skipped sill pan or a poorly lapped flashing will still leak — it just might take a couple of storm seasons to show up, by which point it's a drywall and framing repair, not a caulk touch-up.
Frame Materials and Glass: What Holds Up in Countryside
There's no single "right" window for every home, but there are real trade-offs worth understanding before you pick.
| Frame Material | Strengths | Trade-offs in This Climate |
|---|---|---|
| Vinyl (impact-rated) | Good value, low maintenance, decent insulation | Quality varies a lot between manufacturers; UV-resistant formulations matter more here than up north |
| Aluminum | Strong, slim sightlines, common in Florida new construction | Conducts heat more than vinyl or fiberglass; needs good thermal breaks and corrosion-resistant hardware near salt air |
| Fiberglass | Very stable in heat, strong, low expansion/contraction | Higher upfront cost; fewer installers are truly experienced with it |
Glass Packages
For new construction here, we generally recommend impact-rated laminated glass rather than relying on separate storm shutters or panels. Impact glass stays in place permanently, doesn't depend on anyone remembering to put shutters up before a storm, and cuts UV transmission and outside noise as a side benefit. Low-E coatings are worth the modest upcharge — Clearwater's UV load and summer heat gain make the efficiency difference noticeable on cooling bills, not just a spec sheet number.
Our Process, Start to Finish
For a new-construction window project in Countryside, our process generally runs like this:
- On-site walkthrough and takeoffs — measuring rough openings (or reviewing plans if the home isn't framed yet), noting wind zone and required DP ratings for each opening.
- Written estimate — broken out by opening, frame material, and glass package, so you can see where the cost is actually going.
- Permitting — pulling the correct Pinellas County or City of Clearwater permit and confirming product approvals before install day, not after.
- Installation — following the flashing and fastening sequence above, with photos of the flashing and sill pan work before it's covered by trim, since that's the part no one can see once the job is finished.
- Final inspection — coordinating the county or city inspection and walking the homeowner through the finished openings.
- Warranty documentation — labor warranty paperwork and manufacturer warranty registration handed over at closeout, not left for the homeowner to chase down.
Common Mistakes We See in New-Construction Window Work
Most of the window problems we get called out to fix in older Countryside additions and rebuilds trace back to a handful of recurring issues:
- Sealant used as the primary water barrier instead of proper flashing — sealant should be a backup layer, never the only line of defense.
- Fastener schedules that don't match the window's tested and approved installation instructions, which can quietly void the product approval.
- Housewrap or flashing tape lapped backward or out of sequence, so water gets directed into the wall instead of away from it.
- Windows installed with the wrong DP rating for their position on the wall — corner and large openings need more capacity than a small interior window.
- No documentation kept of the flashing details, so if a leak shows up years later there's no way to know what's actually behind the trim.
Cost Factors on a New-Construction Window Project
| Factor | Why It Moves the Price |
|---|---|
| Frame material | Vinyl generally costs less than aluminum or fiberglass at comparable impact ratings |
| Glass package | Impact laminated glass with Low-E costs more than basic tempered glass, but reduces long-term storm-prep and energy costs |
| Opening size and count | Larger openings and higher window counts need higher DP ratings and more labor per opening |
| Wall type and framing condition | Block, wood frame, or stucco-over-frame each change how flashing and buck-out work is done |
| Permitting complexity | Additions and rebuilds sometimes trigger additional structural or energy code review |
Because every one of these varies by home, we don't quote new-construction window work off a generic price list — it's priced opening by opening after we've actually looked at the site or plans.
A Homeowner's Checklist Before Signing a Contract
- Ask for the specific FL Product Approval or Miami-Dade NOA number for the exact windows quoted, not just a brand name.
- Confirm the DP rating quoted matches your wind zone and each opening's size and wall location.
- Ask what sill pan flashing method will be used before the window goes in.
- Get the fastener type and spacing in writing, matched to the manufacturer's tested installation instructions.
- Confirm who is pulling the permit and scheduling the inspection — it should never be left to the homeowner.
- Ask for photos of the flashing and sill pan work before trim goes on, since that part gets covered up permanently.
Why Hiring a Crew That Already Works Countryside Matters
New-construction window installation isn't just a product decision — it's a sequencing and inspection process, and getting it wrong is expensive to fix once trim and stucco are back on. A crew that regularly works in Countryside and the rest of Clearwater already knows the local permitting process, has a track record with Pinellas County inspectors, and understands which flashing and fastening details actually matter for this specific coastal climate versus what's fine somewhere drier and calmer. That local familiarity shows up in fewer surprises during inspection, fewer callbacks after the first big storm, and a homeowner who isn't the one explaining code requirements to their own contractor.
If you're planning an addition, rebuild, or new window installation in Countryside, we're happy to walk the site, look at your plans, and put together a straightforward, itemized estimate — no pressure, no obligation. Use the form below to get started.