 Clearwater Roofing
 Skycrest sits inland enough from the immediate waterfront to feel like a break from beach-adjacent maintenance headaches, but it isn't spared from what actually damages siding in Pinellas County. Salt-laden air still moves through the neighborhood on onshore breezes, summer humidity still sits on exterior walls for months at a time, and the same intense Florida UV load that fades and chalks siding on the beach hits homes here just as hard. If your Skycrest home's siding is original to the house, showing chalky discoloration, soft spots, or panels that have started to separate at the seams, it's worth understanding what's actually failing and what a correct replacement looks like before you get quotes.
Why Siding Fails Faster in Clearwater Than Most of the Country
Siding manufacturers design and rate their products against national averages, but Clearwater homes don't experience national-average conditions. A handful of local factors compound on each other in ways that shorten the useful life of lower-grade siding:
- UV intensity: Central Florida gets some of the highest annual UV exposure in the continental U.S., which breaks down pigments and resin binders in paint and lower-grade siding substrates.
- Wind-driven rain: Tropical storms and hurricane bands don't just bring rain, they drive it sideways into seams, laps, and fastener penetrations that were never designed to shed water horizontally.
- Salt air corrosion: Even a few miles inland, airborne salt accelerates corrosion of fasteners and trim, and it accumulates on siding surfaces where it holds moisture against the wall assembly.
- Humidity and moisture cycling: Pinellas County's swings between soaking humidity and intense heat put constant expansion-and-contraction stress on siding materials and their finishes.
None of this means Skycrest homes need something exotic. It means the material and installation choices that work fine in a drier, milder climate are the wrong choices here, and it's why we don't install several common siding products at all.
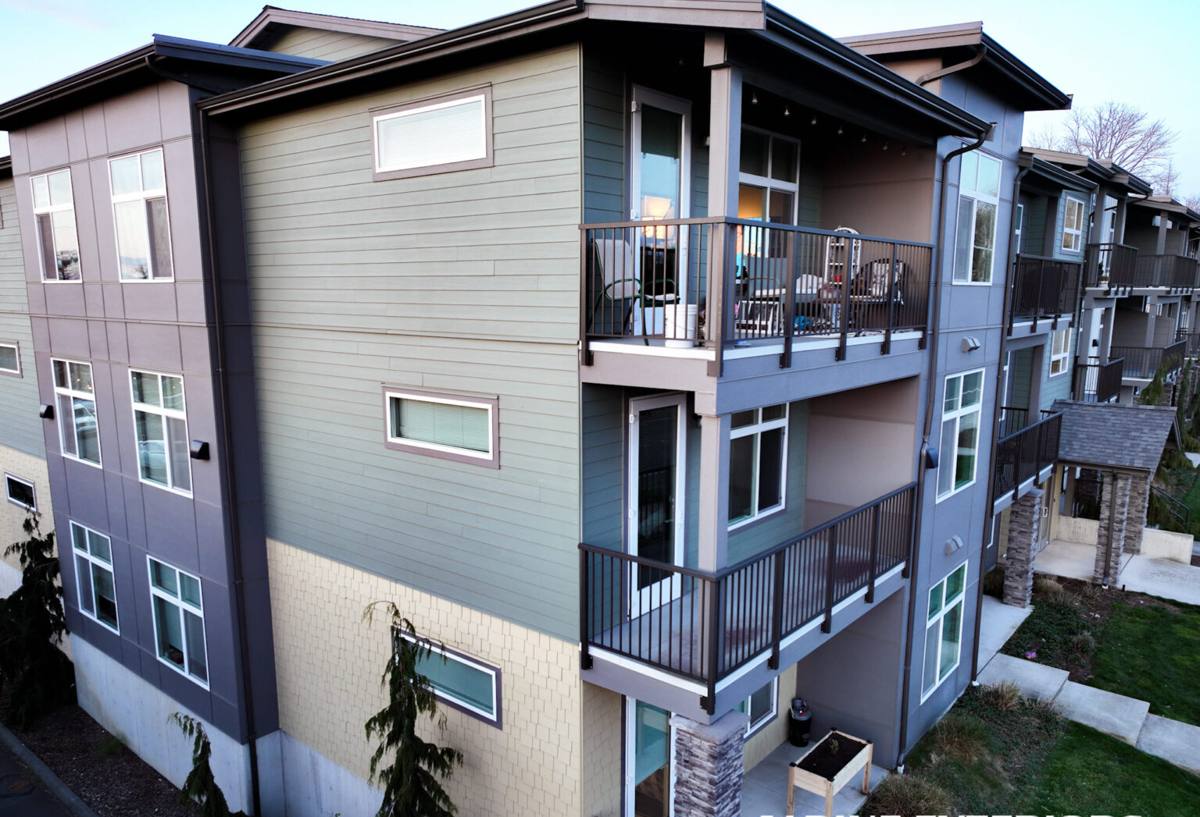
What We Actually Install: James Hardie Fiber Cement
We install James Hardie fiber cement siding exclusively. We don't offer vinyl, LP SmartSide, Cemplank, Allura, or raw cedar and spruce siding as alternatives, and that's a deliberate professional standard, not a sales default. Fiber cement is a mix of cement, sand, and cellulose fibers, which makes it non-combustible and dimensionally stable in a way wood-based and vinyl products simply aren't. In a climate that alternates between intense heat and wind-driven rain, that stability matters more than it does almost anywhere else in the country.
Why We Don't Install the Alternatives
Vinyl siding can warp and deform in sustained high heat, and in a strong wind event its interlocking panels are more prone to popping loose than a fastened fiber cement lap. LP SmartSide and other wood-strand products use engineered wood substrates that, however well treated, remain more vulnerable to moisture intrusion at cut edges and seams over the long run in a high-humidity coastal climate. Cemplank and Allura are also fiber cement products, and reasonable ones at that, but we've standardized on Hardie's specific formulation, factory finish process, and climate-engineered product lines rather than splitting our crews' expertise, warranty administration, and installation training across multiple fiber cement brands. Raw cedar and spruce siding require ongoing sealing and staining to survive Florida's UV and moisture, an upkeep burden most homeowners don't want to sign up for indefinitely.
HardiePlank HZ5: Built for the Gulf Coast
James Hardie makes climate-specific product lines, and homes in our part of Florida should get the HZ5 formulation, engineered specifically for high-humidity, hurricane-prone regions like the Gulf Coast. It's manufactured with moisture and impact resistance in mind for exactly the conditions Skycrest sees: sustained humidity, salt air, and severe wind events. The factory-applied ColorPlus finish is baked on under controlled conditions rather than painted on-site, which gives it far better fade and chip resistance against year-round UV exposure than a field-applied paint job.
What a Correct Siding Replacement Involves
Siding replacement is not just stripping old panels and nailing up new ones. Done correctly, it's a full building-envelope project, and skipping steps here is exactly how homeowners end up with moisture problems inside the new siding within a few years.
The Steps That Actually Matter
- Tear-off and inspection: Removing old siding down to the sheathing so we can actually see the wall assembly, not just the surface.
- Sheathing repair: Rotted or water-damaged sheathing gets replaced, not covered over. This is the step that gets skipped by crews trying to move fast, and it's the one that causes hidden damage later.
- Weather-resistive barrier: A correctly lapped and sealed house wrap or building paper goes down before a single piece of siding does, giving the wall a drainage plane behind the cladding.
- Flashing at penetrations: Windows, doors, and any wall penetration get properly flashed so wind-driven rain has nowhere to get behind the siding.
- Fastening to manufacturer spec: James Hardie has specific fastener type, spacing, and penetration requirements, and those specs exist because of real-world wind and moisture performance data, not as a formality.
- Proper clearances: Siding needs a gap from grade, roofing, and decking to avoid wicking moisture, a detail that's easy to shortcut and expensive to fix later.
- Caulking and trim: Correct sealant at butt joints and trim intersections keeps water out of the one place fiber cement itself can't protect.
Every one of those steps is a place where a rushed or unfamiliar installer can create a problem that won't show up until the next hurricane season or the one after that.
Signs Your Skycrest Home Needs Siding Replacement, Not Just Repair
- Soft or spongy spots when you press on the siding, especially near the bottom courses or below windows
- Visible cracking, buckling, or separation at panel seams
- Persistent chalky residue that rubs off on your hand, indicating the finish has broken down
- Bubbling or peeling paint that keeps coming back after repainting
- Interior signs like staining or a musty smell along exterior walls, which often means moisture is already behind the siding
- Visible fastener corrosion or rust streaking down from nail heads
A few isolated soft boards can sometimes be spot-repaired. Widespread chalking, buckling, or moisture intrusion across multiple walls is usually a sign the whole system has reached the end of its service life and patching it will just mean redoing the work again in a year or two.
Cost Factors for a Skycrest Siding Replacement
We don't publish blanket price lists because every home's square footage, trim detail, story count, and existing wall condition change the number, but the factors below are the ones that actually move a quote up or down.
| Factor | Why It Matters |
|---|---|
| Home size and story count | More wall area and taller scaffolding/ladder work both add labor time |
| Sheathing condition underneath | Rot discovered during tear-off adds repair scope that can't be quoted sight unseen |
| Siding profile and plank exposure | Lap width and texture (smooth vs. cedar-mill) affect material cost and install time |
| Trim and detail work | Corner boards, window trim, and fascia detail add labor beyond flat wall panels |
| Color and finish | Factory ColorPlus finishes come in a range of standard colors; custom field-painting after install adds cost |
| Access and site conditions | Tight lot lines, landscaping, or multi-story sections can add setup time |
The only way to get an accurate number is a walk-around inspection, which is what our estimate visit is for.
Our Process for Skycrest Homeowners
We work Skycrest and the surrounding Clearwater neighborhoods regularly, which matters more than it sounds like it should. A crew that already knows the typical wall construction, common sheathing issues, and permitting expectations for this part of Pinellas County moves faster and catches problems a crew unfamiliar with the area might miss. Our process on every project follows the same sequence: an on-site inspection and honest assessment of what's actually wrong, a written estimate that spells out scope rather than a vague lump sum, permitting handled before work starts, tear-off and any needed sheathing repair, correct weather barrier and flashing installation, Hardie siding installed to manufacturer spec, and a final walkthrough with you before we consider the job done.
Maintenance After Installation
One of the practical advantages of James Hardie fiber cement with a factory ColorPlus finish is how little ongoing maintenance it asks for compared to wood or repeatedly repainted siding. A yearly rinse to clear off salt residue and accumulated grime, prompt attention to any caulking that starts to crack at joints, and a periodic visual check after major storms is realistically all it needs. That's a meaningful difference from wood siding's repainting and resealing cycle, especially in a climate that's hard on exterior finishes year-round.
Why Local Experience Matters for This Job
Siding replacement done by a crew that hasn't worked the Gulf Coast climate before tends to underestimate two things: how much wind-driven rain actually gets into gaps that would be fine elsewhere, and how quickly UV exposure breaks down anything less than a factory-cured finish. Hiring a contractor already familiar with Skycrest and Clearwater more broadly means the flashing details, fastening schedule, and clearance decisions on your home are based on what actually holds up here, not on generic national installation minimums.
If your Skycrest home's siding is showing its age or you're planning ahead of the next storm season, we're happy to walk the property with you and give you a straight assessment, no pressure and no obligation. Fill out the form below to schedule a free estimate.